
💡 起因:在逛 2024 年终分享的时候,偶然看见一个大佬的分享,之后看他的主页,翻了翻,发现有一个开源的博客文章,如何快速搭建自己的博客网站,于是乎,按照步骤,开始部署开发属于自己的博客(ps:站在巨人的肩膀上看世界)
构建步骤
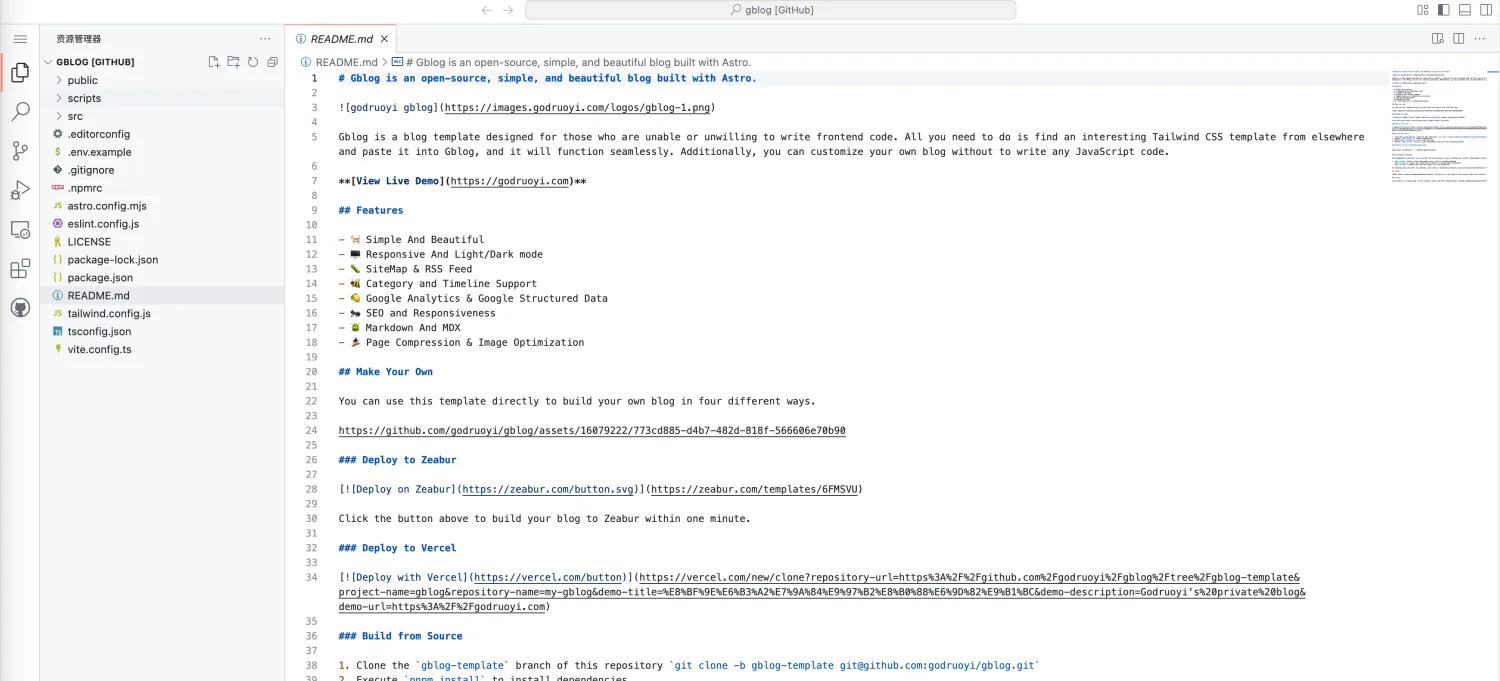
fork gblog 开源项目
开源项目 gblog 地址:https://github.com/godruoyi/gblog
fork 时,注意:取消「Copy the astro branch only」我们需要用 gblog-template 这个分支进行构建
Cloudflare 构建部署
登录 Cloudflare 后,选择 workers & pages,新建一个 page,构建 branch 的时候选择 gblog-template 即可
最后!构建完成,等待一会儿,点击默认的域名访问,就可以看到属于自己的博客了~
总结
感慨,可真简单啊,在大学的时候,自己就有想法,弄一个属于自己的博客,但苦于前后端都得干,还得自己搞域名,没有那个动力,但是现在纯前端,托管云服务,可太行了。
在此,立个 flag,2025 年,希望我可以更新 10 个博客文章,不限内容题材,冲啊!
使用方法
本地部署
vscode 克隆项目,顺便按照 jetbrains 的风格配置了下页面,终于顺眼了一些
打开终端,在项目的根目录,执行命令,即可访问链接:http://localhost:4321/,进行本地调试
# 进入 myblog 文件夹
cd myblog

# 安装博客所需依赖
npm install

# 在本地启动一个开发预览版本
npm run dev
云端编辑
在项目的 github 页面,按 .(点,英文状态下的点),即可进入编辑页面,可以对 blog 进行小调整
自定义
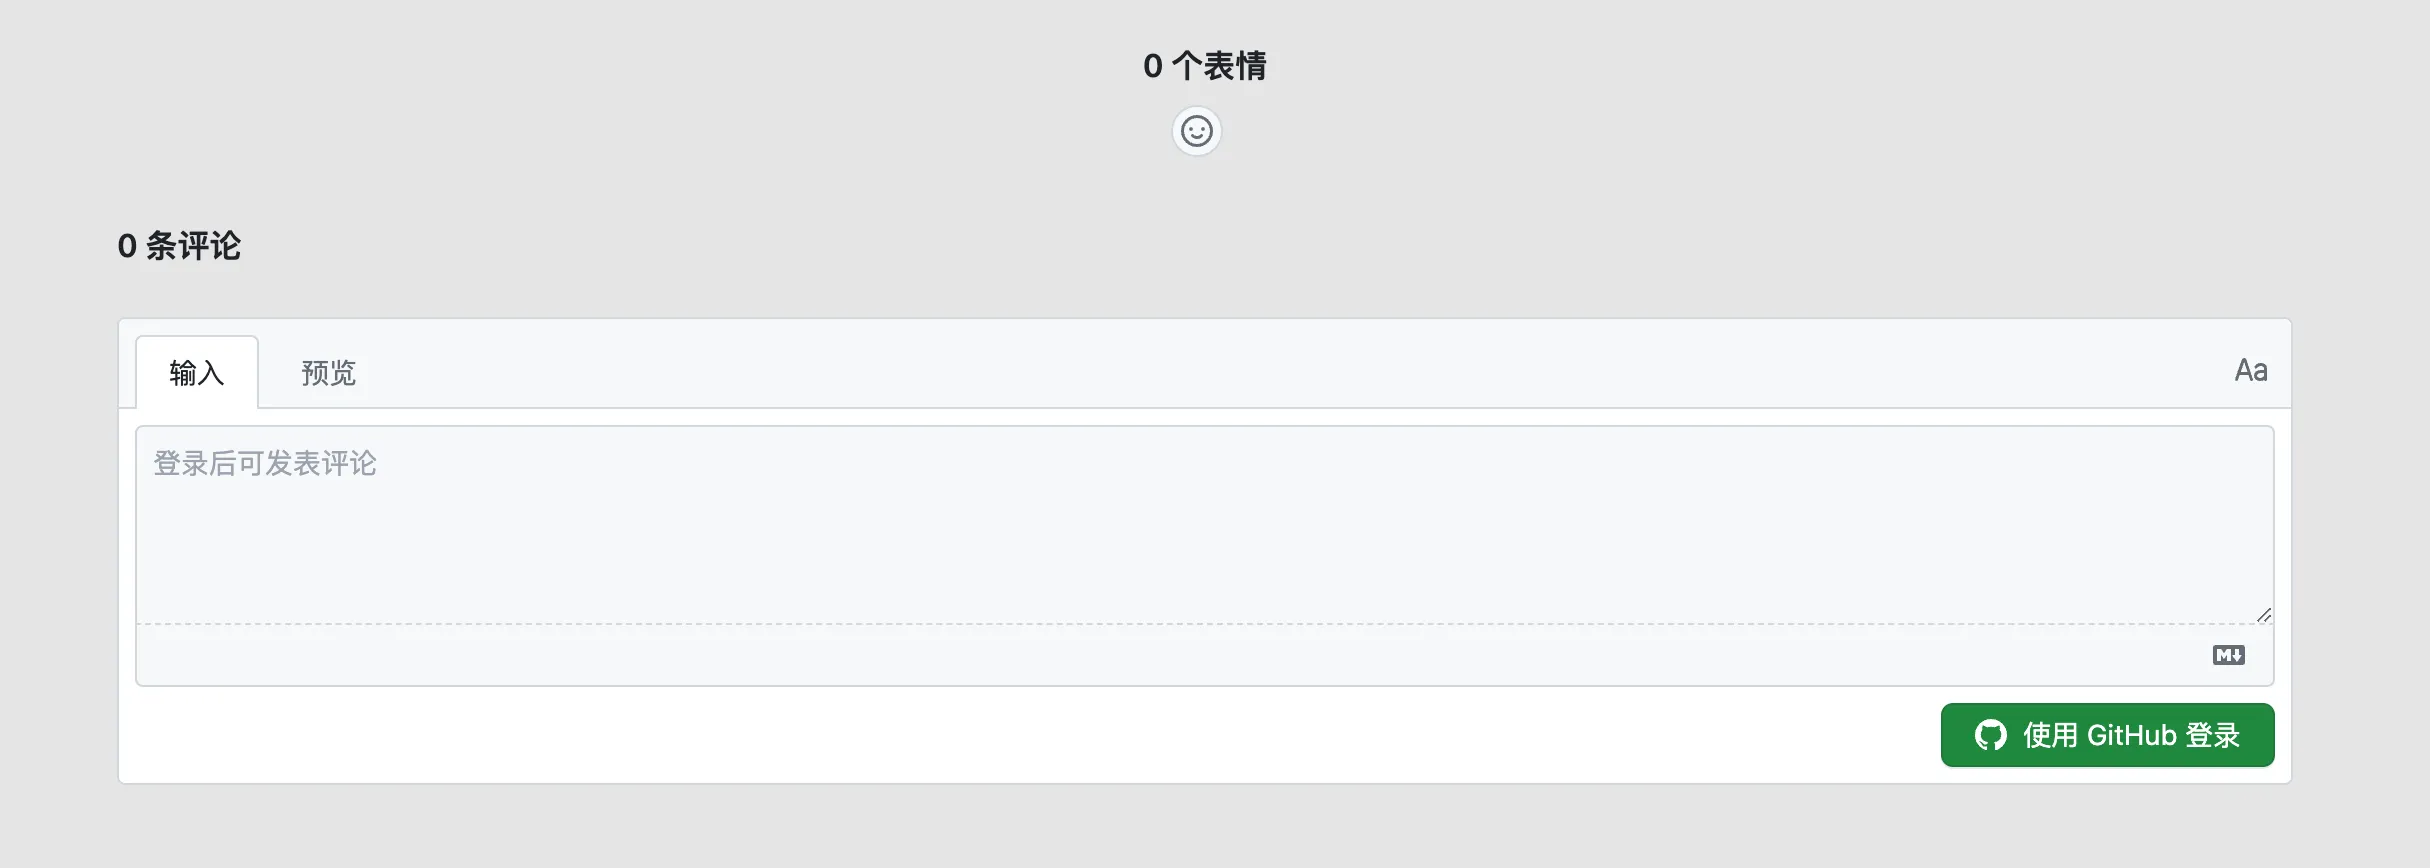
添加评论
按照这个博客的内容,一步一步操作即可,或者 giscus 网址也可以,https://giscus.app/zh-CN
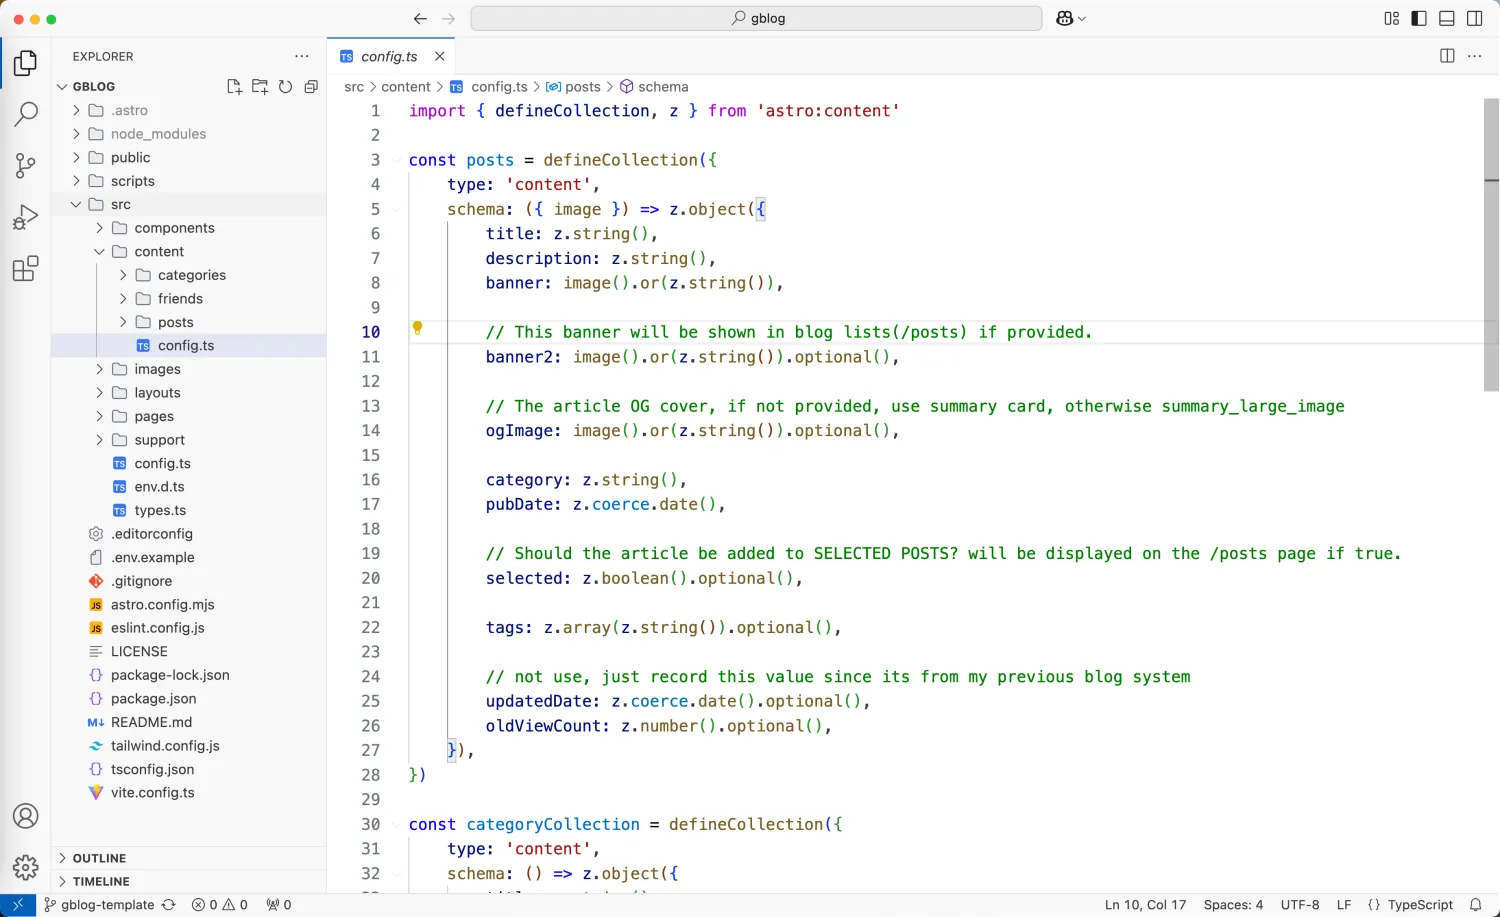
找到 src/config.ts 修改其中的 comment 对象即可
Comment: {
    // todo: should I use meta or process?
    // process reports an error when used locally,
    // and meta cannot retrieve environment variables in Cloudflare environment.
    // enable: !!(import.meta.env.COMMENT_ENABLE),
    enable: true,

    // please visit https://giscus.app/ to learn how to configure it.
    // You can also check out this article: https://liruifengv.com/posts/add-comments-to-astro/.
    giscus: {
        repo: 'DaFeiTwo/gblog',
        repoId: 'R_xxxg',
        category: 'Announcements',
        categoryId: 'DIC_xxxJ',
        darkThem: 'noborder_gray',
        lightThem: 'light',
    },
},
之后就可以拥有评论啦,注意:本地部署测试是不会出来的,需要推到远程部署
添加目录
完完全全交由 cursor、ChatGPT 以及 deepseek 开发 hhh,两个外籍员工,一个国内员工,开发的还不错,我这个完全不怎么会前端开发的人也开发出了「目录功能」(仅仅了解过 js css html)
下面则是生成的代码:
<!-- 目录 -->
<div class="hidden lg:block fixed top-[7.5rem] right-[max(0px,calc((100vw-105rem)/2))] w-[16rem] pr-4">
    <div class="h-full">
        <div class="bg-white dark:bg-neutral-900/30 p-4 rounded-lg shadow-sm border border-neutral-200 dark:border-neutral-700"
                style="max-height: calc(100vh - 32rem); height: auto;">
            <div class="flex items-center justify-between mb-2">
                <h3 class="text-lg font-semibold text-neutral-800 dark:text-neutral-200">目录</h3>
                <button id="toc-toggle" class="text-neutral-500 hover:text-neutral-700 dark:text-neutral-400 dark:hover:text-neutral-200">
                    <svg xmlns="http://www.w3.org/2000/svg" class="h-5 w-5" viewBox="0 0 20 20" fill="currentColor">
                        <path fill-rule="evenodd" d="M5.293 7.293a1 1 0 011.414 0L10 10.586l3.293-3.293a1 1 0 111.414 1.414l-4 4a1 1 0 01-1.414 0l-4-4a1 1 0 010-1.414z" clip-rule="evenodd" />
                    </svg>
                </button>
            </div>
            <div id="toc-content" class="space-y-2 dark:text-neutral-200 overflow-y-auto" style="max-height: calc(100vh - 36rem);">
                {headings && headings.length > 0 ? (
                    headings.map((heading) => (
                        <a
                            href={`#${heading.slug}`}
                            class={`
                                block text-sm hover:text-orange-500 transition-colors duration-200
                                ${heading.depth === 1 ? 'font-bold text-base pl-0' : ''}
                                ${heading.depth === 2 ? 'font-semibold pl-2' : ''}
                                ${heading.depth === 3 ? 'pl-4' : ''}
                                ${heading.depth === 4 ? 'pl-6 text-[13px]' : ''}
                                ${heading.depth === 5 ? 'pl-8 text-[13px]' : ''}
                                ${heading.depth === 6 ? 'pl-10 text-[13px]' : ''}
                                ${heading.depth > 1 ? 'text-neutral-600 dark:text-neutral-400' : 'text-neutral-800 dark:text-neutral-200'}
                            `}
                        >
                            <span class="flex items-center">
                                {heading.depth > 1 && (
                                    <span class="mr-2 text-neutral-400 dark:text-neutral-600">
                                        {'-'.repeat(heading.depth - 1)}
                                    </span>
                                )}
                                {heading.text}
                            </span>
                        </a>
                    ))
                ) : (
                    <p class="text-sm text-neutral-500 dark:text-neutral-400">暂无目录</p>
                )}
            </div>
        </div>
    </div>
</div>

<script>
    // 添加目录折叠功能
    const tocToggle = document.getElementById('toc-toggle');
    const tocContent = document.getElementById('toc-content');
    let isExpanded = true;

    tocToggle?.addEventListener('click', () => {
        isExpanded = !isExpanded;
        if (tocContent) {
            tocContent.style.display = isExpanded ? 'block' : 'none';
        }
        if (tocToggle) {
            tocToggle.innerHTML = isExpanded
                ? '<svg xmlns="http://www.w3.org/2000/svg" class="h-5 w-5" viewBox="0 0 20 20" fill="currentColor"><path fill-rule="evenodd" d="M5.293 7.293a1 1 0 011.414 0L10 10.586l3.293-3.293a1 1 0 111.414 1.414l-4 4a1 1 0 01-1.414 0l-4-4a1 1 0 010-1.414z" clip-rule="evenodd" /></svg>'
                : '<svg xmlns="http://www.w3.org/2000/svg" class="h-5 w-5" viewBox="0 0 20 20" fill="currentColor"><path fill-rule="evenodd" d="M7.293 14.707a1 1 0 010-1.414L10.586 10 7.293 6.707a1 1 0 011.414-1.414l4 4a1 1 0 010 1.414l-4 4a1 1 0 01-1.414 0z" clip-rule="evenodd" /></svg>';
        }
    });

    // 修改目录项点击滚动效果
    document.querySelectorAll('#toc-content a').forEach(anchor => {
        anchor.addEventListener('click', (e) => {
            e.preventDefault();
            const targetId = anchor.getAttribute('href')?.slice(1);
            const targetElement = document.getElementById(targetId || '');
            if (targetElement) {
                const headerOffset = 100; // 设置偏移量,根据您的导航栏高度调整
                const elementPosition = targetElement.getBoundingClientRect().top;
                const offsetPosition = elementPosition + window.pageYOffset - headerOffset;

                window.scrollTo({
                    top: offsetPosition,
                    behavior: 'smooth'
                });
            }
        });
    });

    // 添加目录滚动处理
    if (tocContent) {
        // 启用鼠标滚轮滚动
        tocContent.addEventListener('wheel', (e) => {
            // 阻止事件冒泡,避免触发整个页面的滚动
            e.stopPropagation();

            const delta = e.deltaY;
            tocContent.scrollTop += delta;

            // 如果已经到达顶部或底部,允许页面滚动
            if (
                (tocContent.scrollTop === 0 && delta < 0) ||
                (tocContent.scrollTop + tocContent.clientHeight === tocContent.scrollHeight && delta > 0)
            ) {
                e.preventDefault();
            }
        });
    }
</script>

<style is:inline>
    html.dark .astro-code,
    html.dark .astro-code span {
        color: var(--shiki-dark) !important;
        background-color: var(--shiki-dark-bg) !important;
    }

    /* 修改滚动条样式 */
    #toc-content {
        /* 默认隐藏滚动条 */
        scrollbar-width: none; /* Firefox */
        -ms-overflow-style: none; /* IE and Edge */
    }

    #toc-content::-webkit-scrollbar {
        width: 6px;
        background: transparent;
        /* 默认隐藏 */
        opacity: 0;
        transition: opacity 0.3s;
    }

    #toc-content::-webkit-scrollbar-track {
        background: transparent;
    }

    #toc-content::-webkit-scrollbar-thumb {
        background-color: rgba(155, 155, 155, 0.5);
        border-radius: 3px;
    }

    html.dark #toc-content::-webkit-scrollbar-thumb {
        background-color: rgba(155, 155, 155, 0.3);
    }

    /* 鼠标悬停时显示滚动条 */
    #toc-content:hover::-webkit-scrollbar {
        opacity: 1;
    }

    /* 确保内容可以滚动 */
    #toc-content {
        overflow-y: auto;
        overflow-x: hidden;
    }

    /* 添加新的响应式布局样式 */
    @media (min-width: 1280px) and (max-width: 1536px) {
        .right-\[max\(0px\,calc\(\(100vw-80rem\)\/2\)\)\] {
            right: max(1rem, calc((100vw - 80rem)/2));
        }
    }

    @media (min-width: 1536px) {
        .right-\[max\(0px\,calc\(\(100vw-80rem\)\/2\)\)\] {
            right: calc((100vw - 80rem)/2);
        }
    }

    /* 确保目录容器在较小屏幕上有合适的间距 */
    @media (max-width: 1280px) {
        .right-\[max\(0px\,calc\(\(100vw-80rem\)\/2\)\)\] {
            right: 1rem;
        }
    }

    /* 为标题添加滚动时的额外上边距 */
    :target {
        scroll-margin-top: 100px; // 与 headerOffset 相同的值
    }
</style>
添加高亮
添加语雀或飞书高亮样式
本地部署看页面是ok的,不知道为啥cloudflare部署后样式就变了,待研究。
博客日期修改格式
目的:将博客首页的时间格式4 months ago改为2025-01-09 20:54:00
文件:[…slug].astro
const pubDate = new Date(post.data.pubDate);
const formattedDate = pubDate.toLocaleString('zh-CN', {
    year: 'numeric',
    month: '2-digit',
    day: '2-digit',
    hour: '2-digit',
    minute: '2-digit',
    second: '2-digit',
    hour12: false, // 24小时制
}).replace(/\//g, '-');
const relativeTime = timeago(post.data.pubDate); //显示为几天前
并在下方的 HTML 里进行引用
<li class="inline-flex items-center text-sm text-neutral-500 hover:text-neutral-600 focus:outline-none focus:text-neutral-600 dark:text-neutral-500 dark:hover:text-neutral-400 dark:focus:text-neutral-400">
    {formattedDate}
    <svg
        class="flex-shrink-0 size-5 text-neutral-500 dark:text-neutral-600 mx-2"
        width="16"
        height="16"
        viewBox="0 0 16 16"
        fill="none"
        xmlns="http://www.w3.org/2000/svg"
        aria-hidden="true"
    >
        <path d="M6 13L10 3" stroke="currentColor" stroke-linecap="round"></path>
    </svg>
</li>
相关文档
- 部署构建网址 Cloudflare:https://dash.cloudflare.com/
- astro 文档:https://docs.astro.build/zh-cn/guides/deploy/cloudflare/#how-to-deploy-a-site-with-git
- github 地址:https://github.com/DaFeiTwo/gblog